Goodbye 2018, Hello 2019

Goodbye 2018.  That was the year that was


That was the year that I started my blog.  I visited places, made things, shared experiences with the grandchildren and blogged about them. It was an amazing summer. I loved it.

Fishing takes patience
Fishing on the Chesterfield Canal

Recipe archive

One day my blog will be the place that my children go to for the recipes that they currently request on a regular basis.https://savourthemoment.co/my-recipes/how-to-make-the-perfect-braised-red-cabbage/

Red cabbage and apples help to make a colourful display of all the ingredients required to make the perfect braised, red cabbage
All the ingredients needed to make the perfect, braised, red cabbage

Guest blogger

I did some guest blogging on a couple of other sites like https://thegrandparenthub.com/ this is a site that shares ideas and things to do with the grandkids and is full of inspiration.  And then there’s my local ‘What’s In and What’s On’ website for my region https://www.innorthnotts.co.uk/ which is full of things to do and places to visit.

Travel

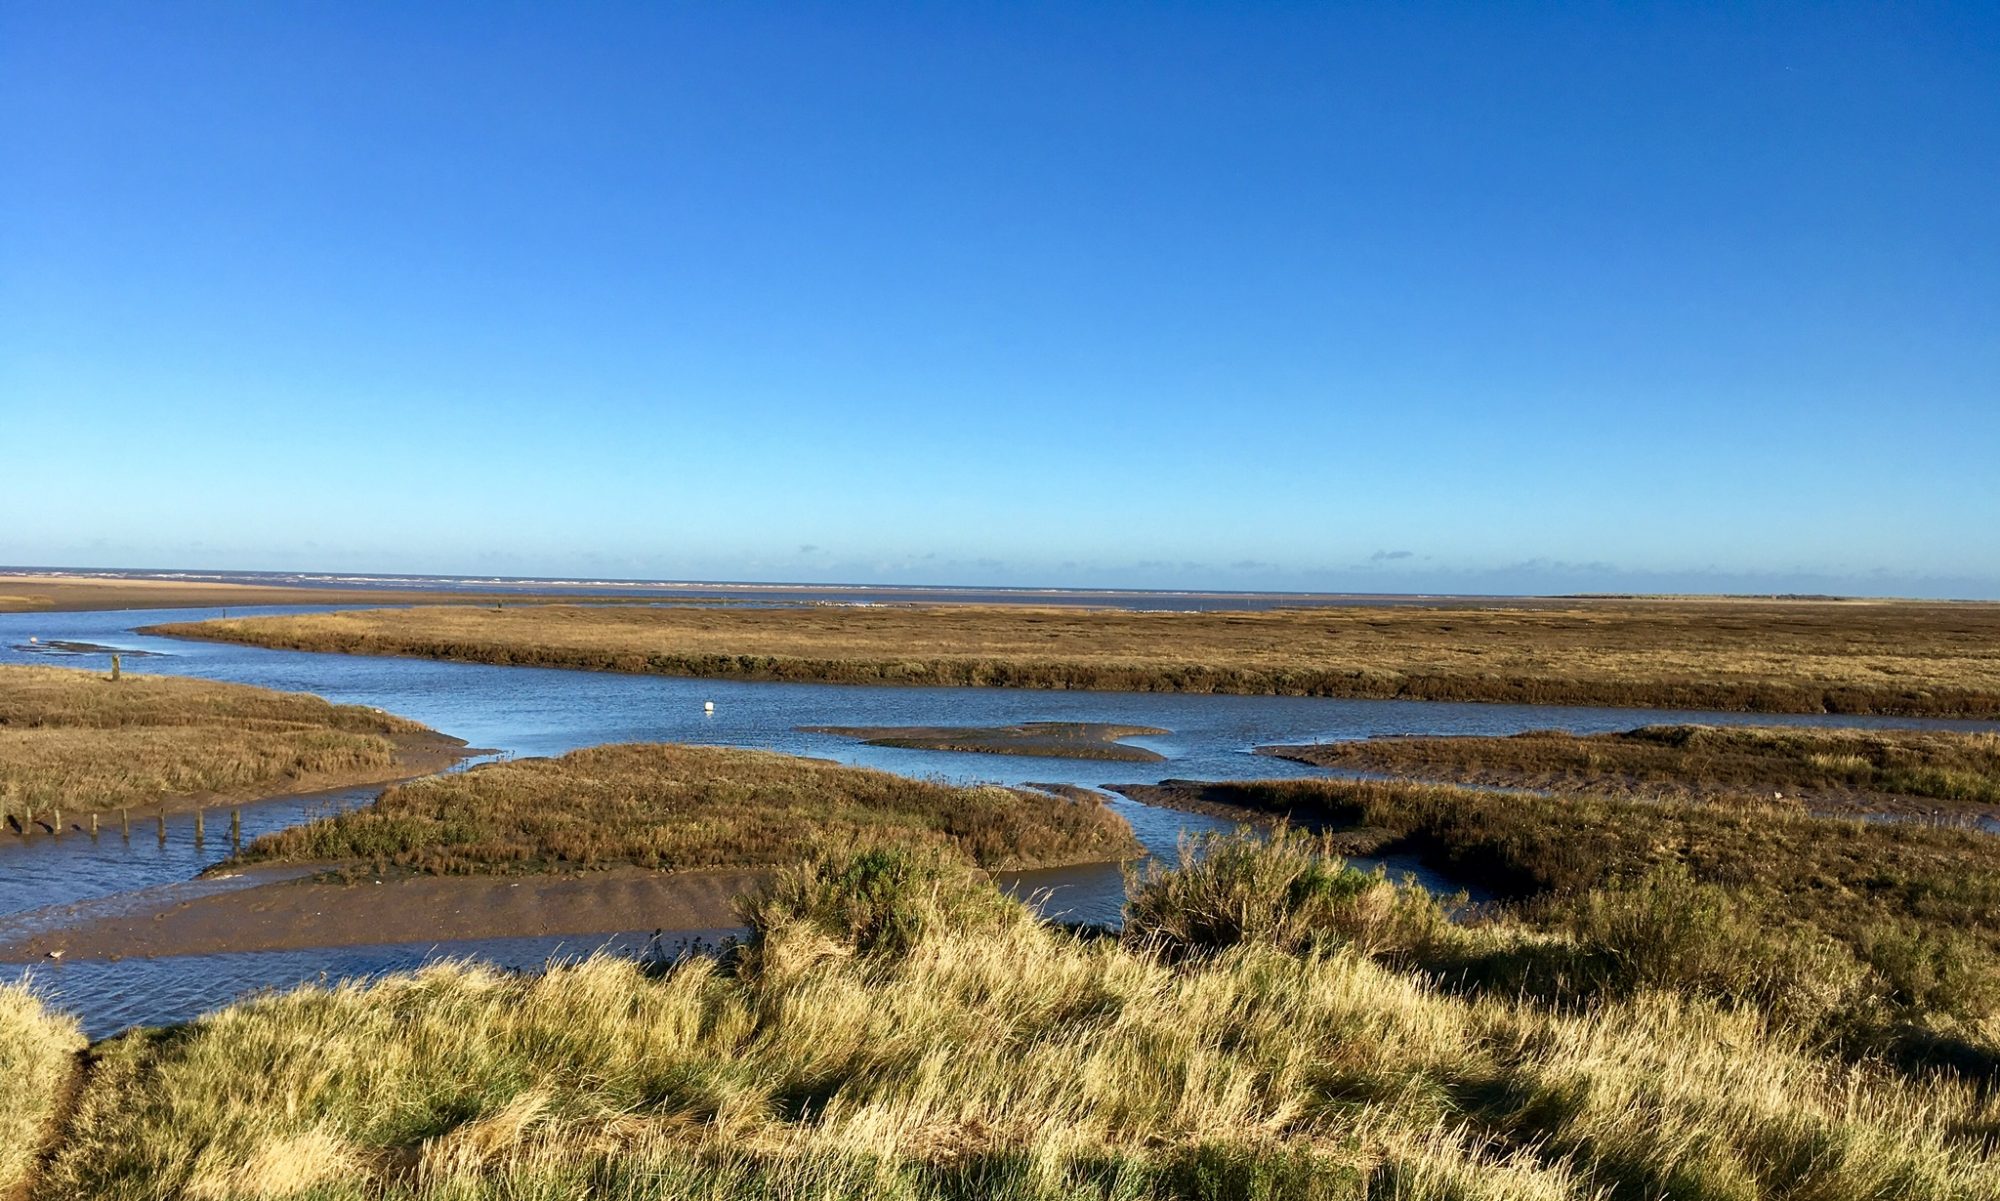
Travel played a big part in my life during  2018.  South coast of England, east coast of the USA , west coast of the USA and Scotland.  There is an old saying ‘travel broadens the mind’ so perhaps there should be a bit more of it.

Route 66, Santa Monica
The end of Route 66 is on Pier Park, Santa Monica

The New Year is just around the cirner

2019 is already beckoning and it would be good to get to know my own country better.  Perhaps an extended tour of the UK in a motor home? https://www.justgo.uk.com/ All suggestions gratefully received.

Get active

There should be more exercise.  I could sign up for a ‘long walk’ or train for a half marathon.  Again, all suggestions considered. I do need a challenge.

Brand spanking new trainers

New skills

And then of course there is ‘sausage making’.  I recently purchased a sausage maker.  That is a story/blog, for another day.

It’s the best policy

I have to be honest and admit that I don’t like the turn of the year.  The ticking of the clock.  The anticlimax. The resolutions. The stepping into the unknown.  But it is just another day with a different number when all is said and done… isn’t it?

Hello 2019

So, with some trepidation I will welcome in 2019.  It boils down to two things: being healthy and happy.  That is all I wish for my family, friends and of course you and me.

Happy New Year dear reader, I hope it will be kind to us.


Make a stunning Christmas centrepiece

A very effective table centrepiece

It takes a bit of patience but it’s worth it

Make a stunning, table centrepiece using your Christmas cake and fondant icing.

Fondant icing reindeer and trees with tea lights to make a woodland scene

You will need:

  • Christmas cake with marzipan icing
  • Large pack of fondant icing, I got mine from https://www.aldi.co.uk/
  • Rolling pin
  • Scalpel or small, sharp, pointed knife
  • Cardboard, pencil and scissors to make template
  • Icing sugar and water for the grace icing
  • A few toothpicks

Ice the cake

Roll out the fondant to the size of the cake, leaving enough spare to make the reindeer.  Dampen the marzipan and place the fondant over.  Smooth the surface.  Leave for a couple of days to harden before making the reindeers snow scene.

Christmas cake with a layer of marzipan under a layer of roll-out fondant icing

Make the template

Find a simple line drawing or picture of a reindeer.  Sketch onto a piece of card.  It doesn’t need to be posh card, I used a piece from a tea-bag box https://www.yorkshiretea.co.uk

Cut out the shape and then… carefully and painstakingly cut out the reindeer.

Carefully cut out reindeers shapes using a card template

Leave them alone

Put them on a board to dry out for a couple of days.  Leave them out of reach.  They become quite brittle and so need to be treated with great care.

Glace icing snow

Place three tea lights on the cake. up a paste with icing sugar and a few drops of hot water.  Use this to make snow drifts in which the reindeer will stand.

Set the scene

With great care place the reindeer in the snow as in the picture.  Use toothpicks to prop them up until they have set.  Some of the legs may come off! In which case they become  laying reindeer.  Some of the antlers may snap off – in which case they become does!

Use toothpicks to prop up reindeer until they have set into position

In the woods

Trees can be made from simple, right-angle triangles.  Lean three together in a puddle of glacé icing with a little icing spread on the edge where they join together.

Centrepiece

Light the candles and turn out the lights for a stunning, Christmas  centrepiece.


How to Make a Mahoosive, Celebration Cookie

Fudge icing and Smarties to decorate a mahoosive cookie

It’s really easy to make a celebration cookie

I have a confession to make which might shock:   I don’t like cake. There, I said it!  I don’t ‘do’ puddings and cakes.  The only thing I might eat, to be sociable, is biscuit or cookie. So here is my mahoosive, celebration cookie recipe…

A little help may be needed with the decoration of the cookie
Get help with decorating the cookie

Don’t buy one, make one!

To buy a celebration cookie from a specialist cookie maker at the shopping centre can be fraught with problems.  Celebration cookies can be expensive and they are difficult to get home.

It’s fun!

It is far more rewarding to make your own.  And it is really easy.

You will need:

White sugar, brown sugar, chocolate chips, butter, eggs, flour and essence
The ingredients needed to make a giant cookie

Ingredients for one 14” cookie

(I got the icing from https://www.bmstores.co.uk/)

The equipment you will need:An electric hand whisk, a seive, greasproof paper and a round, 14” metal pizza tray


Now, make a mahoosive cookie:

Preparation time 15 minutes Baking time 20 minutes Decorating time 10 minutes 

Cream the butter and white sugar
  • In a large bowl, beat the butter, caster sugar, dark brown soft sugar and vanilla extract until light and fluffy. Add eggs, one at a time, beating well.

    Cream the butter and sugar
    Cream the butter and sugar
  • Gradually add flour, salt and bicarbonate of soda, beating until well blended. Stir in chocolate chips/chopped chocolate.

    Fold in the flour and baking powder
    Fold in the flour and baking powder
  • Line a 14 inch round pizza pan with greaseproof paper.
  • Evenly spread the mixture onto the paper

    Spread the mixture onto the greasproof paper-lined pizza tray
    Spread the mixture onto the greasproof paper-lined pizza tray
  • Bake at 190oC for 20-25 minutes. 
  • Cool the cookie in the pan. 

    The baked, giant cookie
    The baked, giant cookie
  • Decorate as desired.
Go mad with the Smarties

By the way.  It can stay in the pan, it doesn’t make any difference.  It freezes well – also in the pan.  You can serve it from the pan too!

How to Make the Perfect, Braised Red Cabbage

How to make perfect Braised Red Cabbage

Ready to serve. Colourful, tasty, braised red cabbage

This is the perfect vegetable accompaniment to many of our favourite,  comforting, winter dishes.  It goes just as well with a hearty Cottage Pie as it does with Christmas dinner!  And it’s the perfect fruity, side-dish for game – particularly venison.  It is so easy to make and it freezes well.

All the ingredients needed to make the perfect, braised, red cabbage

It’s definitely a family-pleaser – even for those of us who aren’t that keen on their veggies… well not yet anyway!

Ingredients

These quantities make enough for a decent-sized portion for eight to ten people.

Chopped and sliced! All the lovely ingredients prepared to make braised, red cabbage

What you need to do

  • Put the cabbage, onion, apples, sultanas, sugar and seasonings in a large pan
  • Pour the stock and vinegar over
  • Cover and bring to the boil. Turn down to simmer for approximately 45 minutes until the cabbage is tender
  • If there is still some liquid left at this point, leave the lid off and boil for a few minutes until reduced and syrupy
  • Serve hot or cold

This dish can also be cooked in the oven.  Place all ingredients in an ovenproof dish, cover and bake in a preheated oven 180oC for about an hour.

Ready to serve. Colourful, tasty, braised red cabbage

Make it now and put it in the freezer for Christmas!

So that’s another job crossed off the ‘Christmas-to-do’ list. Get it in the freezer!

How to make a Lavender bag

Capture the smell of lovely English lavender now

Now is the time to harvest the lavender that is probably growing in your garden.  If not your garden then someone else’s close by!  Let’s make a traditional, English lavender bag together.

Snipping lavender spikes in the garden

Granddaughter Evie came to stay and so she was put to work with the scissors in the garden.  A good bunch of lavender spikes later makes a lovely display as they dry out for a couple of days – without water.

Fresh lavender without water

Ready to create an English lavender bag

OK so now we have our lavender spikes.  Here’s what else we needed:

What you need
  • A meter of netting (cost £1.50 from the local market)
  • A meter of ribbon (cost .75p from the local market)
  • Scissors
  • And of course… lavender spikes

And here’s what we did with the lavender

  • After leaving the lavender spikes for a couple of days to dry out pull off the flowers into a pile onto some paper
Lavender bag
  • Cut x2  9”/23cm squares of net, lay one on top of the other for double thickness
  • With the net partially placed under the paper, push a quantity of lavender onto the net as shown
Transferring the lavender onto the net
  • Draw up the corners and sides of the net without letting the lavender escape
  • My able assistant then tied a length of ribbon around the enclosed lavender – very tightly.  Learning to tie a knot in the process.
Tying securely

A souvenir of a lovely summer

We made enough lavender bags to give to Mummy to make her drawers smell nice and even one for Daddy for the car.  The smell in the kitchen was just divine.  When we learned that the smell is ‘soporific’ and relaxing grandson Jack said that he would like one for his bedroom ‘Because sometimes it’s just too hard to get to sleep!’